Registering with Bacloud
Go to:
https://www.bacloud.com/aff.php?aff=677
Click SIGN UP and create an account.
Fill in the required fields:
- first name and last name
- phone number
- country
- address (street and city)
- password
- security question and answer
- postcode
After registration, we recommend enabling two-factor authentication right away.
Choosing the Server
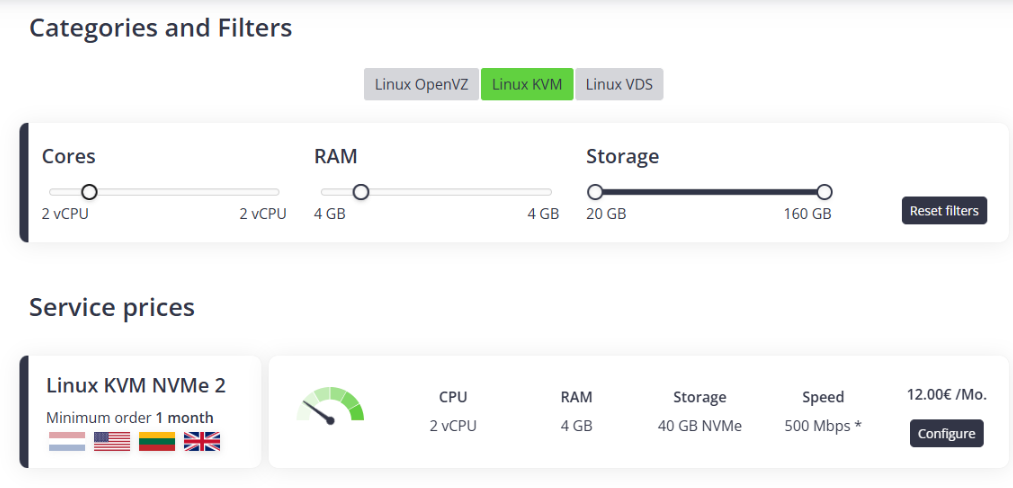
Go to the server selection page:
https://www.bacloud.com/en/linux-kvm-vps-hosting?aff=677
Choose:
- Linux KVM tab
- Cores —
2 vCPU - RAM —
4 GB
You will see the Linux KVM NVMe 2 — 12 €/month plan. Click Configure.
Configuring the Server
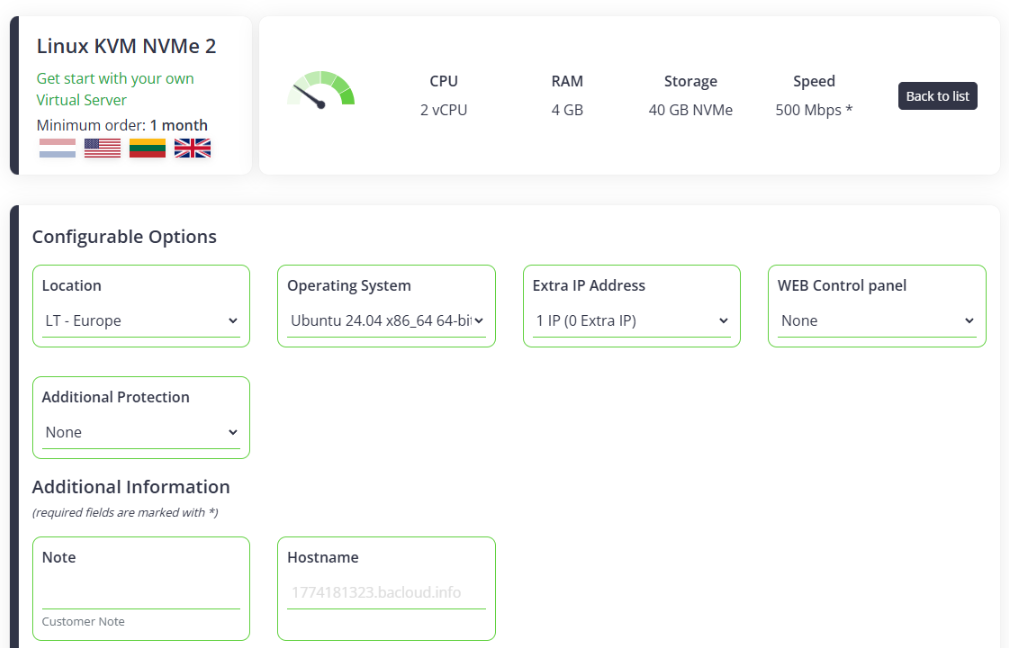
Set the following options:
- Location —
LT - Europe - Operating System —
Ubuntu 24.04 x86_64 64-bit system - Extra IP Address — leave unchanged
- WEB Control panel —
None - Additional protection —
None
Then click Add to Cart.
Promo Code
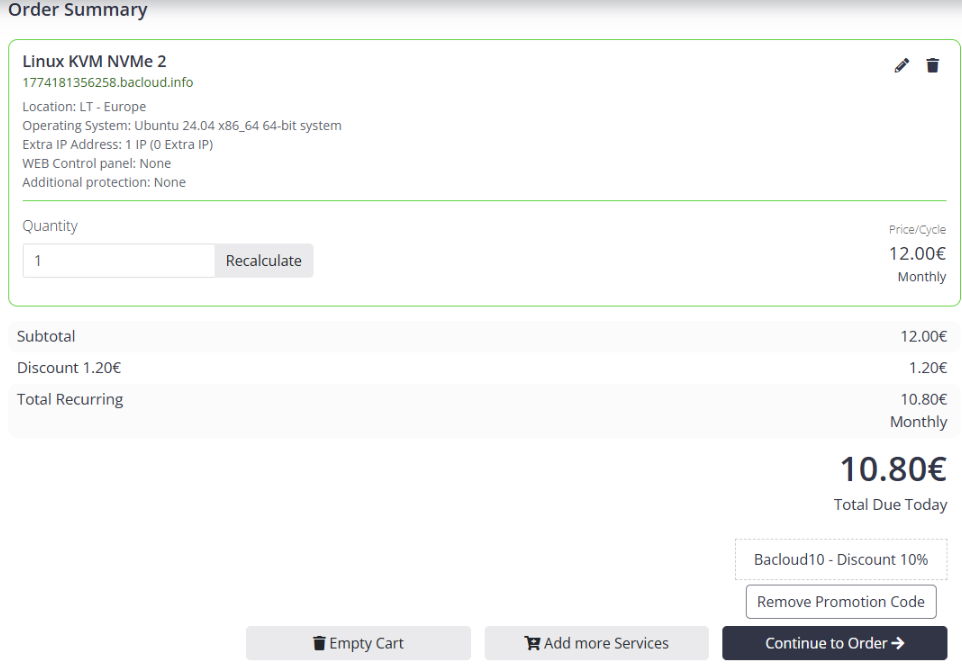
In the cart, enter this promo code:
Bacloud10
The system will apply a 10% discount.
Click Continue to Order.
Placing the Order and Paying
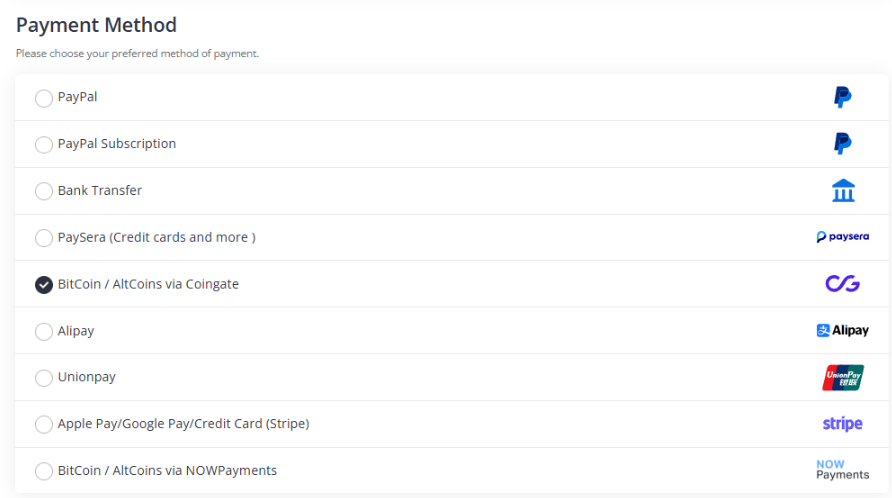
At the payment step, choose:
- Payment Method —
BitCoin / AltCoins via Coingate
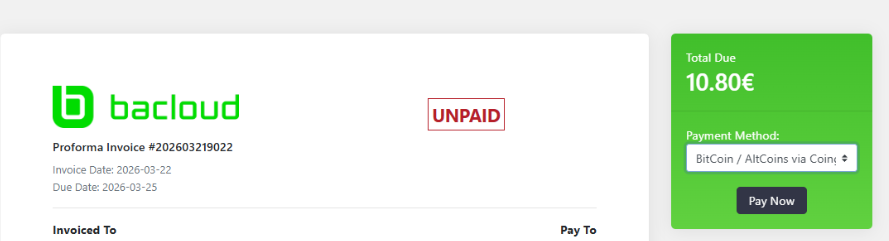
Then click:
- Complete Order and Pay
- Pay Invoice
- Pay Now
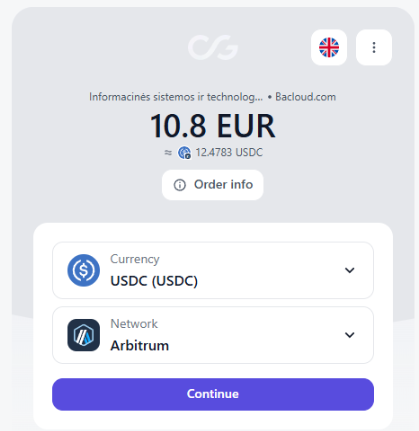
In CoinGate, choose:
- Currency —
USDC - Network —
Arbitrum
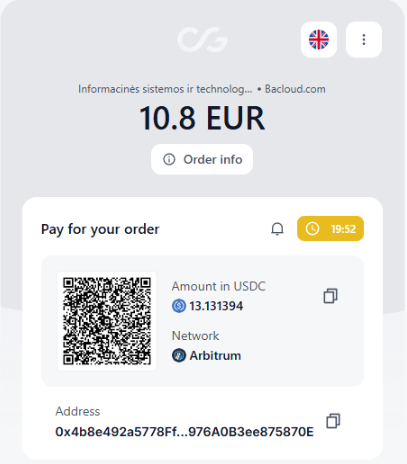
Fill in the required details and get the wallet address for payment.
Paying via Bybit
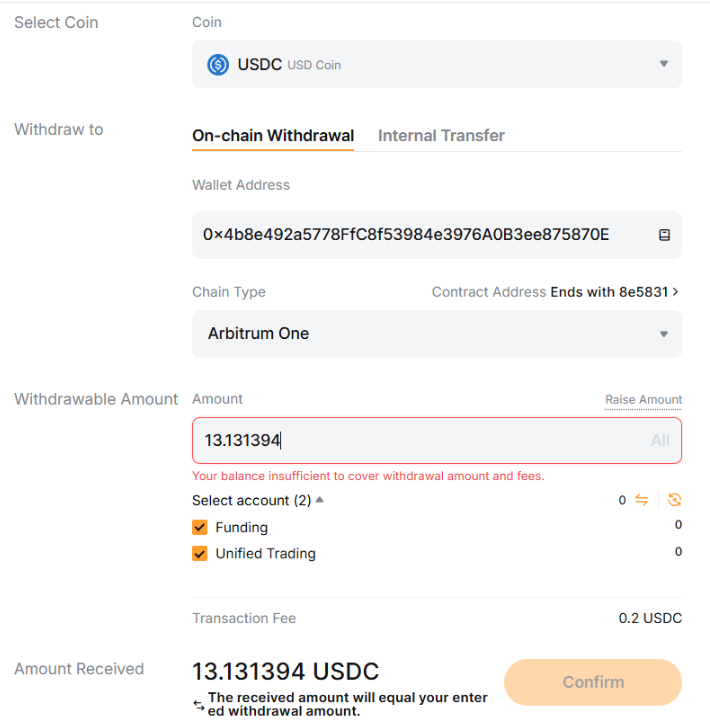
On the exchange, send funds using the details from CoinGate:
- Coin —
USDC - Network —
Arbitrum One - Address — copy it from CoinGate
- Amount — exactly the amount shown by CoinGate
Important: keep a little extra balance to cover the withdrawal fee.
Where to Find the Server
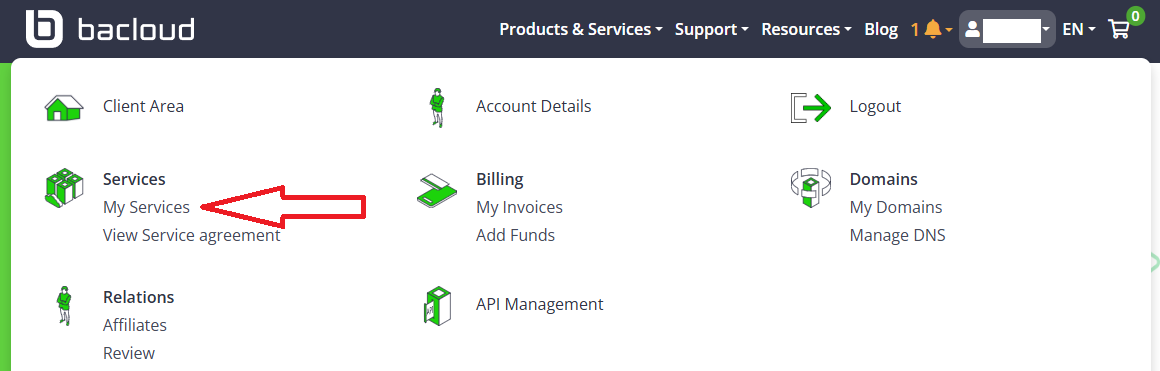
After payment and activation, in Bacloud move your cursor over your profile and go to:
Services → My Services
Open your ordered service Linux KVM NVMe 2.
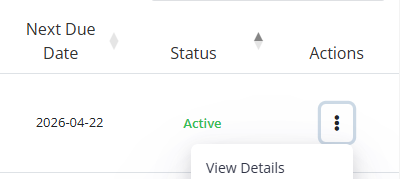
Where to Find the IP and Root Password
In the Server Information tab, copy:
- Primary IP
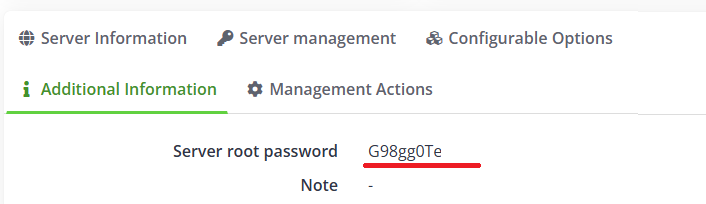
In the Additional Information tab, copy:
- Server root password
Quick Installation of the Trading Application
On the quick installation page, enter:
- Server IP address —
Primary IP - SSH User —
root - SSH Password —
Server root password
Tick the confirmation checkbox and click Start Installation.
Before starting, make sure the previous server is turned off.
How to Check That Everything Is Working
After installation, open the trading application and check the uptime.
Correct status:
- uptime is green
- uptime is updating
- example:
Uptime: 52 seconds ago
Incorrect status:
- uptime is stuck
- example:
Uptime: 4 minutes ago - the value does not change
The main checkpoint is a live updating uptime, not just the Status: OK label.
If the Uptime Is Not Updating
If the uptime does not become live, it is best to reinstall the server.
Open the Server management tab and click Login.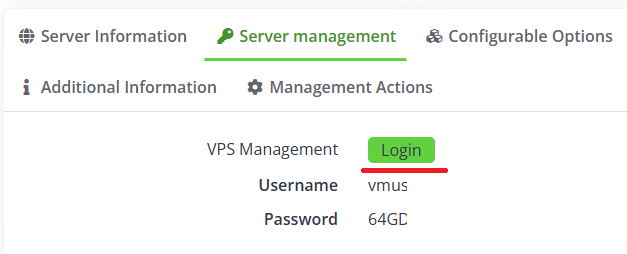
Then:
- click Reinstall
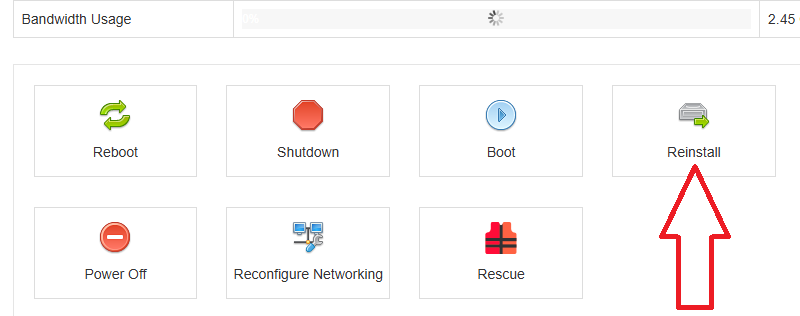
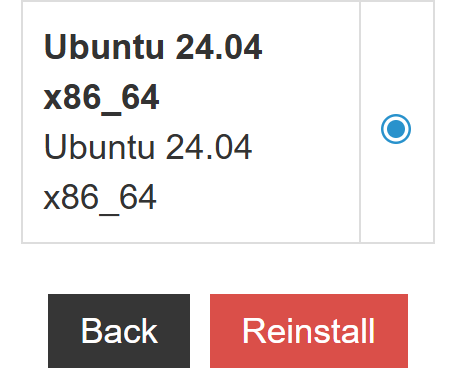
- choose Ubuntu 24.04 x86_64
- click Reinstall
- confirm with Yes
The system will issue a new Root/Admin Password. Save it.
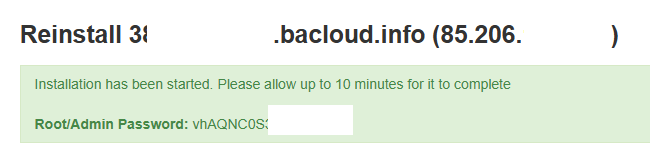
Then wait until the server returns to Online status.
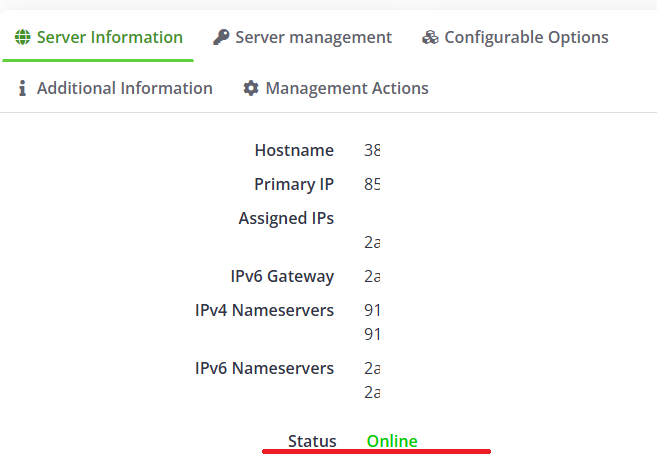
After that, repeat the quick installation:
- use the new root password
- copy the Primary IP
- start the installation again
Result
If the uptime is green and updating, the trading application is working normally.