How to quickly create a Binance API key to connect a trading bot or terminal
Step 0
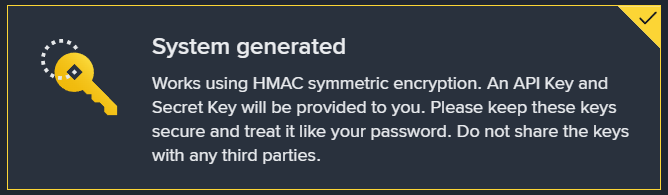
Very important! In this scenario, you must choose System generated only. This type of key works through HMAC, and after creation Binance will provide an API Key and a Secret Key. The Secret Key is shown only once, so it must be saved immediately.
What You Need Before You Start
Before creating an API key on Binance, three conditions must be met on the account: 2FA must be enabled, identity verification KYC must be completed, and any deposit to Spot Wallet must be made. Without this, the API Management section may be unavailable or the key creation process may not be completed.
Creating an API Key on Binance
Step 1
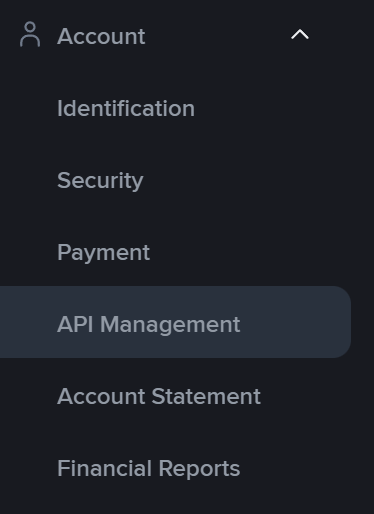
Open your Binance profile and go to the Account section.
Step 2
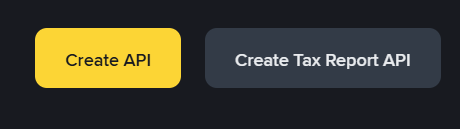
Go to the API Management section and click Create API.
Step 3
In the key type selection window, choose System generated. For this key type, Binance creates an API Key + Secret Key pair.
Step 4
Click Next.

Step 5
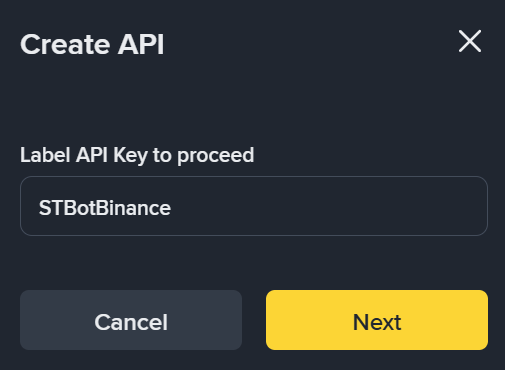
Enter a name for the key. It is better to give it a clear name based on the task: for example, by server, bot, or working configuration.
Step 6
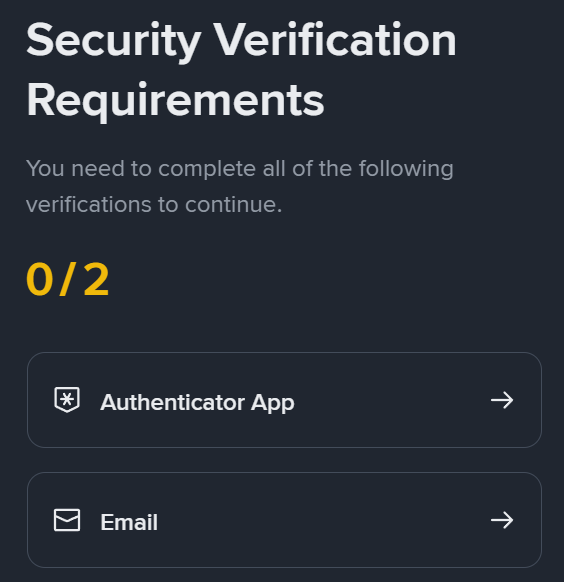
Confirm the key creation through the connected protection methods: 2FA and, if used, passkeys. After confirmation, the key will be created.
Setting the IP Address and Key Restrictions
Step 1
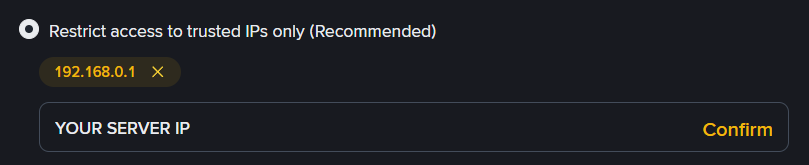
After creating the key, specify the IP address of the server where the trading bot will be installed. Binance does not recommend leaving an HMAC key without IP restrictions: for an Unrestricted-IP-Access HMAC API Key, permissions other than reading are usually unavailable.
Step 2
After adding the server IP address, the API restrictions block will open. At this stage, be sure to enable:
- Enable Futures
- Enable Spot & Margin Trading

Step 3
Make sure the permissions are set exactly for your working scenario. It is better not to enable unnecessary permissions and not to use one key for all tasks at once. For trading and data reading, it is safer to use only the permissions that are actually needed.
What You Need to Save
Step 1
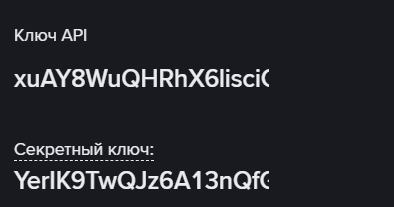
Copy the API Key.
Step 2
Copy the Secret Key and save it immediately in a secure place.
Step 3
Make sure both values are saved completely, without omissions and without extra spaces.
If the Required Permissions Do Not Become Available
Step 1
If only reading access is available for the key, the usual reason is that no IP whitelist has been set for it.

Step 2
If you cannot enable Futures, make sure that the futures account is already activated on the account. If the API key was created before the Futures account was enabled, such a key may not receive futures permissions. In this case, it is usually easier to create a new key after futures have already been activated.
Done
Now the following pair is used to connect the trading bot or terminal:
- API Key
- Secret Key